
Mark your calendar for Mediaweek, October 29-30 in New York City. We’ll unpack the biggest shifts shaping the future of media—from tv to retail media to tech—and how marketers can prep to stay ahead. Register with early-bird rates before sale ends!
Instagram now lets users schedule posts up to 75 days in advance. Once a user schedules a post, they have the option to delete the scheduled post before it is shared if they no longer want to share it.
Our guide will show you how to delete a scheduled post in the Instagram mobile application.
Note: These screenshots were captured in the Instagram mobile app on iOS.
Step 1: On your Instagram profile, tap the three horizontal lines in the top-right corner of the screen.

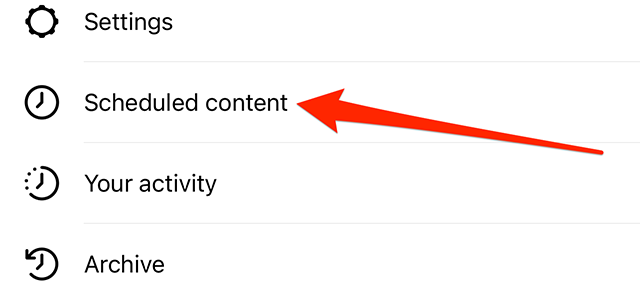
Step 2: Tap “Scheduled content.”
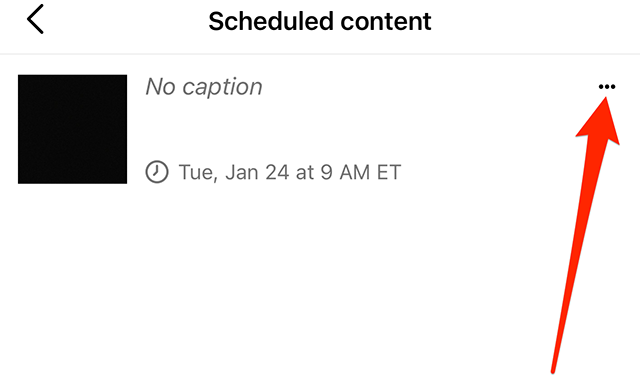
Step 3: Tap the three dots to the right of the scheduled post you want to delete.
Step 4: Tap “Delete” near the bottom of the screen.

Step 5: Tap “Delete” on the confirmation window that appears on the screen.


WORK SMARTER - LEARN, GROW AND BE INSPIRED.
Subscribe today!
To Read the Full Story Become an Adweek+ Subscriber
Already a member? Sign in